◉ LaunchLab MINI

OPEN SOURCE · BEYBLADE X · M5STICKS3

A little meter.
A better launch.

Measure your Beyblade X launcher’s shaft speed, revisit each pull, and practice with a pocket-sized display. Print the mount. Plug in the sensor. Make it yours.

Optical RPMLaunch historyTilt replay
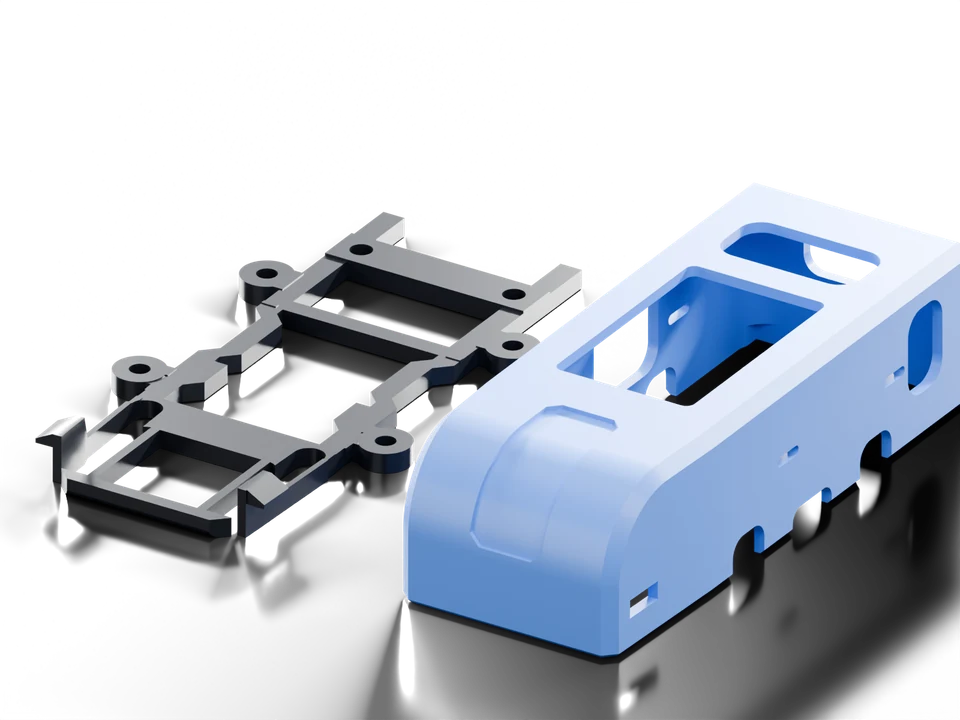
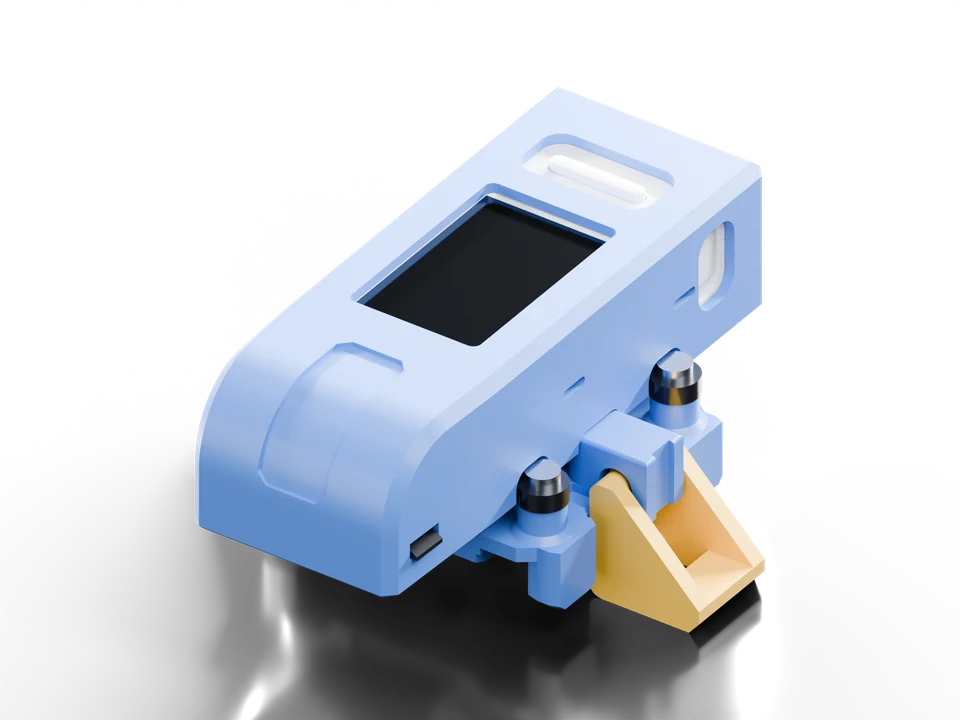
Compact QRE1113 v102 sensor with Top Mount v2 and an intact M5StickS3
Compact v102 + Top Mount v2 · CAD preview

NO APP TO DOWNLOAD

Fresh firmware.
Right from your browser.

Connect your M5StickS3 with a USB data cable.
Use desktop Chrome or Edge.

Loading…
01

Choose your install
Updating LaunchLab? App-only updates preserve the history area. Back up important data first.

02

Connect USB
Power on the M5 and close other serial tools. The updater attempts download mode automatically; if connection fails, follow the manual reset steps shown below.

03

Connect & install
Select the Espressif USB device in the browser prompt. Keep it connected until verification finishes.

Installed version is checked after connecting.

Chip and flash capacity are checked after connecting; confirm K150 from the device label.

For M5StickS3 K150 with an analog QRE1113 or TCRT5000 sensor. Choose the matching Sensor profile in Settings.

Loading firmware…

Installation log

USB communication stays between your browser and your device.

M5STICKS3 K150 ONLY

Recovery & stock reinstall.

A failed write can leave software incomplete. Download mode may still allow recovery, but there is no zero-brick guarantee. Physical USB recovery and stock reinstall on our device remain unverified.

LaunchLab update interrupted?

  1. Connect a known USB data cable. Hold the side Power/Reset button until the green LED flashes; close other serial tools.
  2. For an interrupted app-only update, choose the intended version and confirm Repair / rollback. It rechecks the partition layout and boot selection before writing.
  3. If layout or boot-selection checks fail, stop and keep your backup. Do not use First install to bypass them. Save the log and ask for support.

After an interrupted First install, only a deliberate retry of the same bundle can rewrite all four images. Confirm backup and overwrite again. Repeated failure needs the vendor recovery route or support.
Return to M5Stack software

  1. Keep a private backup before replacing software. Reinstallation may erase or make settings, history and calibration inaccessible.
  2. Get official M5Burner. Select firmware explicitly for StickS3 K150; M5Stack documents UIFlow2 for StickS3. StickC, Plus/Plus2 and CoreS3 images are different.
  3. Enter download mode with USB connected. Follow the vendor guide to select the device port, burn the chosen image and restart. Verify the intended vendor screen and functions afterward.

This reinstalls vendor software. It does not recreate your unit’s original data or prove the exact demo/version shipped with it. For that exact image, use your pre-install backup or ask M5Stack. This page hosts no vendor firmware.

M5Stack reinstall guide ↗
No port, failed verification, or need a backup?

Use a direct USB port and a known data cable; close serial monitors and M5Burner before using the browser. Keep power steady. If verification fails, treat the write as incomplete. A new USB port may appear in download mode; select it again.

Keep full flash backups private: they can contain credentials and personal records. A saved image cannot recover data that was already overwritten or undo permanent chip security settings. Backup limits and recovery details ↗

For persistent USB/bootloader problems, read the K150 product guide and Espressif troubleshooting. If download mode remains unavailable, stop and ask for support.

TWO SENSORS · THREE CURRENT KITS

Find your parts.

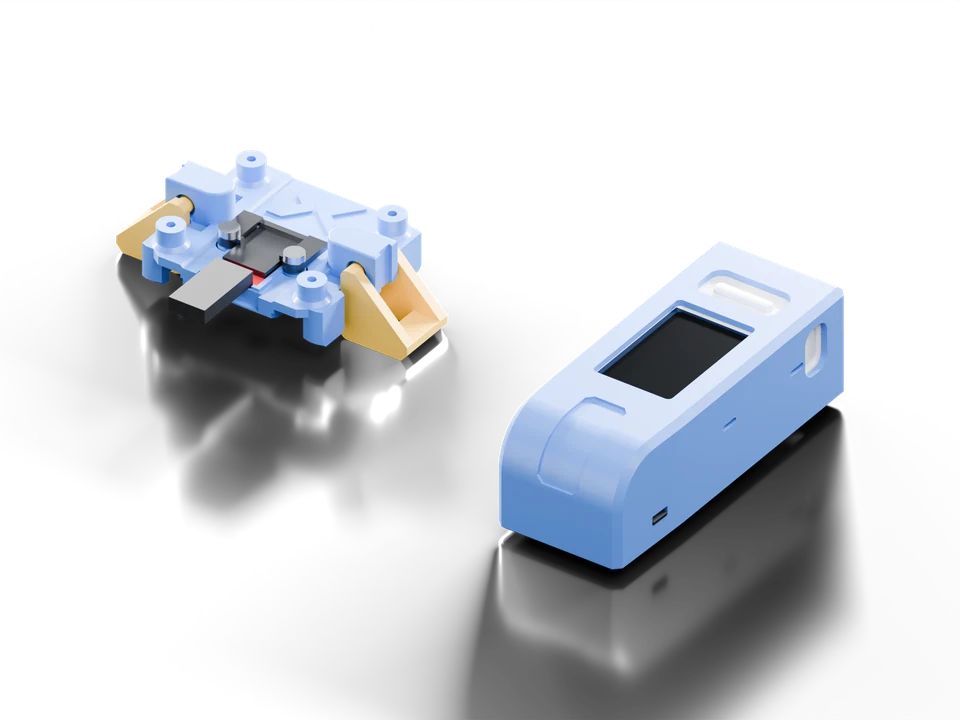
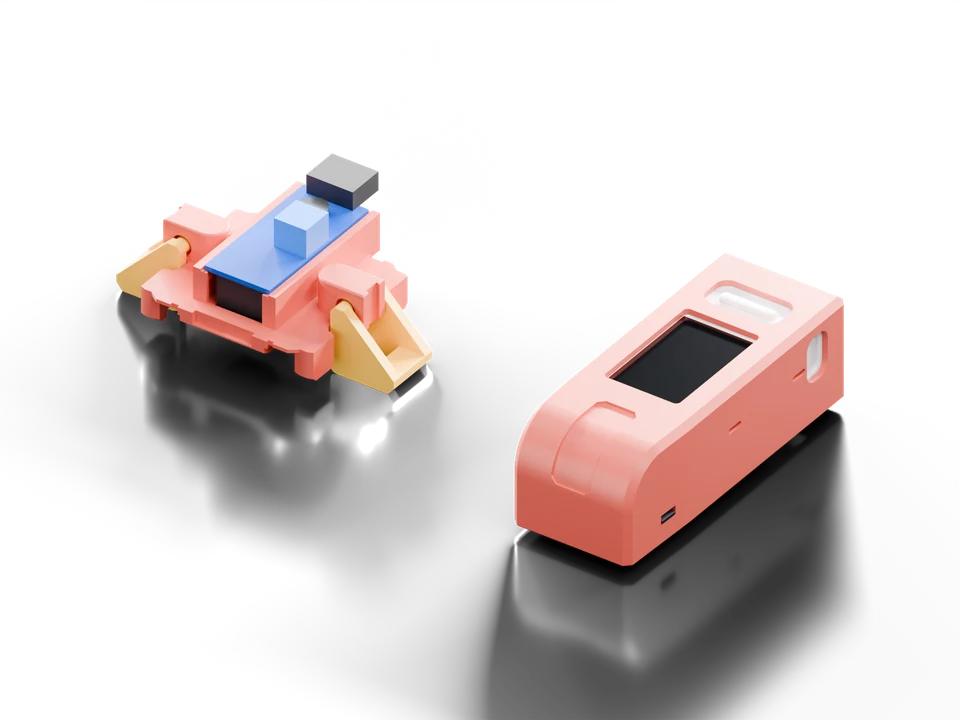
Compact uses the small analog QRE1113; Standard uses the larger TCRT5000 / LM393 module. Choose a Top Mount or Sidecar layout. Sensor v102 and mount-family v2 are independent revisions.

Current parts, exact source plates and historical revisions ↗
Firmware 0.13.5 supports both sensors. Select Top or Sidecar in Settings → Mounting to match your layout. These CAD previews do not establish physical fit or calibrated RPM.

CURRENT SOURCE PLATES · P1S 0.4 MM

Print the sensor.
Print its mount.

Each kit needs a sensor attachment and a matching M5 mount pair. Download the sensor's PLA plate and the mount pair's PLA or PETG plate above. The pair plate contains both its cover and base or dock; it does not contain the separate sensor attachment.

These are exact saved source projects, not one combined full-kit plate. Re-slice for your printer and loaded filament. Check hinge motion, support removal, sensor alignment and mount retention after printing.

Top Mount v2 cover and dock in their print poses
Top Mount v2 pair · sensor attachment downloaded separately

Wire the sensor

QRE1113 or TCRT5000 analog OUT → Hat G1 / GPIO1.
VCC → 3.3 V. GND → GND.
Use analog output. Grove red supplies 5 V. Pick the matching Sensor profile in Settings.

Assembly & wiring guide ↗

Firmware releases

Read what changed in the latest firmware and browse previous releases.

Release notes & previous firmware ↗
Firmware integrity · SHA-256